
Embarking on a ceramic journey is equal parts creative expression and structural technique. While stepping up to the wheel or sitting down with raw clay can feel intimidating, mastering a few core methods instantly opens up a world of possibilities.
Whether you’re aiming to craft cozy coffee mugs, elegant vases, or organic tabletop bowls, here are the 7 essential pottery techniques every beginner should learn first.
1. Wedging (Clay Preparation)
Before shaping a single vessel, every potter must master wedging. Similar to kneading dough, wedging compresses the clay, removes trapped air pockets, and homogenizes moisture throughout the body.
Why It Matters: Skipping this step leads to uneven drying, structural wobbling on the wheel, or catastrophic blowouts in the kiln caused by expanding air bubbles.
2. Pinch Potting
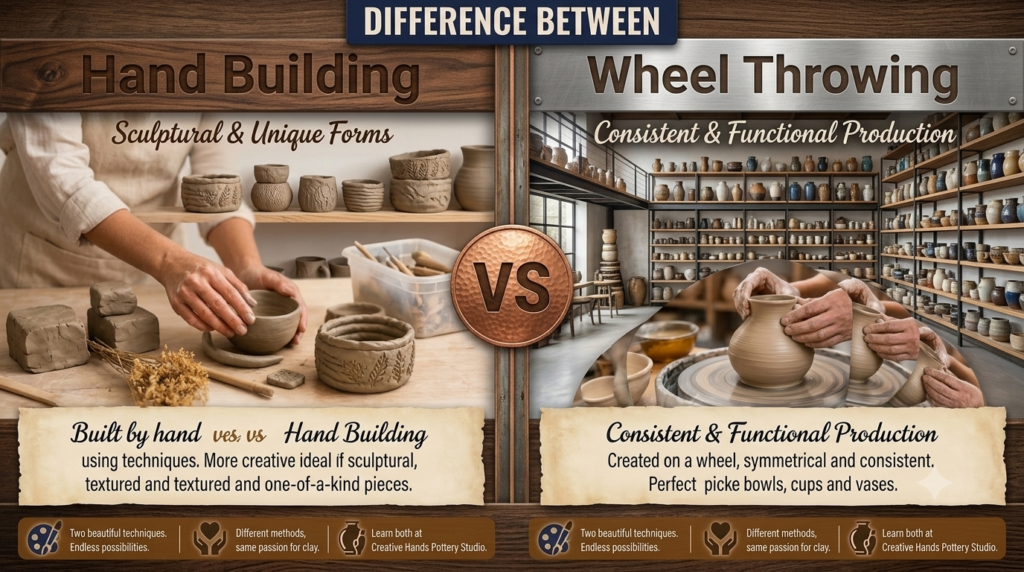
The pinch pot technique is the most intuitive and historic form of handbuilding. By pressing your thumb into the center of a clay ball and rhythmically pinching outward with your fingers while rotating the piece, you shape a hollow vessel using only your hands.
What You Can Make: Small bowls, planters, teacups, and organic sculptural bases.
3. Coil Construction
Coil building involves rolling out smooth, rope-like snakes of clay and stacking them layer upon layer to build structural walls. Blending the coils inside or outside creates smooth, durable surfaces while leaving them exposed adds striking decorative texture.
Why It Matters: Coiling allows beginners to build tall, wide, or asymmetric vessels (like large vases and floor jugs) without needing a pottery wheel.
4. Slab Building
Slab construction relies on rolling out flat, uniform sheets of clay (much like pie dough). Once the slabs reach a firm, “leather-hard” state, they can be cut into geometric patterns and joined together to create rigid structures.
What You Can Make: Square mugs, geometric planters, rectangular butter dishes, and decorative wall tiles.
5. Score and Slip (Joining Clay)
Whenever you attach two pieces of clay together—such as adding a handle to a mug or joining slab walls—you must use the score-and-slip method. You scratch (score) fine cross-hatching grooves into both surfaces using a needle tool, dab on liquid clay (slip), and press the pieces securely together.
Pro-Tip: Without proper scoring and slipping, joined pieces will simply pop off as the clay shrinks during drying and firing.
6. Wheel Centering & Wall Pulling
Throwing on the potter’s wheel requires two connected foundational steps: centering and pulling. First, you use palm pressure and body weight to lock spinning clay into the exact center of the wheel head. Once opened, you use steady, joined hands to pull the clay upward into thin, even cylinder walls.
Why It Matters: Master the cylinder, and you can make almost any wheel-thrown form—from mugs and pitchers to jars and bowls.
7. Trimming and Foot Ring Carving
After a wheel-thrown piece dries to a firm, leather-hard state, it gets flipped upside down onto the wheel for trimming. Using sharp ribbon or loop tools, you carve away excess weight near the base and shape a crisp, professional foot ring.
Why It Matters: Trimming transforms heavy, clumsy pots into lightweight, balanced, and commercially polished pieces.