
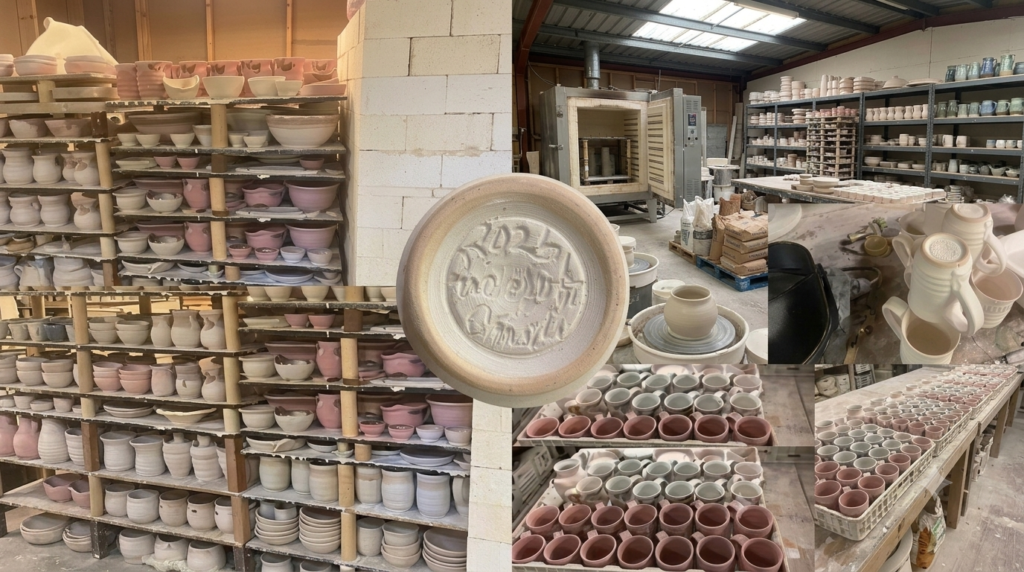
Have you ever held a warm, handcrafted mug and wondered about the journey it took to get to your hands? Transforming raw, earthy clay into a durable, glassy ceramic vessel is a fascinating blend of ancient art and physical science.
Every mug, bowl, and vase undergoes a multi-stage metamorphosis requiring patience, skill, and intense heat. Here is a step-by-step look into how a simple mound of clay becomes a finished ceramic piece inside our studio.
Step 1: Preparing the Clay (Wedging)
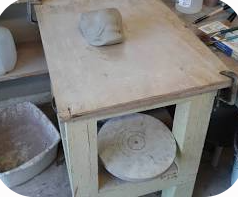
Before any shaping happens, raw clay must be thoroughly prepared through a process called wedging. Similar to kneading bread dough, the potter presses and rolls the clay against a plaster or canvas surface to press out trapped air bubbles and ensure uniform moisture throughout the mass.
Step 2: Forming and Shaping
Once wedged, the clay is ready to be shaped using one of two primary methods:
-
Wheel Throwing: The clay is centered on a rapidly spinning wheel head, where the potter uses palm pressure and fingers to pull the clay upward into bowls, cylinders, or plates.
-
Handbuilding: The potter uses hand techniques like pinching, coiling, or slab construction to build form without a wheel.
Step 3: Leather-Hard Stage & Trimming
After shaping, the piece is left to dry slowly until it reaches the leather-hard stage. At this point, the clay is firm like cold butter—hard enough to hold its form without warping, but pliable enough to be carved.
Trimming & Decorating: The piece is inverted onto the wheel to trim off excess clay and shape a foot ring. Handles are attached using the score-and-slip method, and surface details or carvings are added.
Step 4: Bone Dry (Greenware)
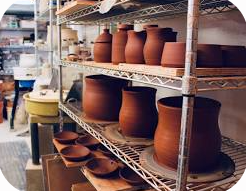
The piece is left to air-dry completely until all physical water evaporates. At this stage, called greenware, the clay turns pale, feels cool to the touch, and becomes extremely fragile (often referred to as "bone dry").
Step 5: The First Firing (Bisque Firing)
Greenware pieces are loaded into the kiln for their initial firing, known as the bisque firing. Over 10 to 14 hours, the kiln slowly reaches temperatures around 1,800°F (980°C).
-
The Transformation: Heat burns off organic matter and chemically alters the clay, transforming it from fragile earth into porous ceramic (bisqueware) that can withstand handling without dissolving in water.
Step 6: Glazing
Glaze is not paint—it is a liquid mixture of powdered minerals, glass formers, and metal oxides suspended in water. Bisqueware is dipped, brushed, or sprayed with glaze. Because the bisque body is porous, it absorbs the water and leaves behind a chalky coating of minerals on the surface.
Step 7: The Final Firing (Glaze Firing)
The glazed pieces go back into the kiln for a second, much hotter firing—often reaching temperatures between 2,100°F and 2,300°F (1,150°C – 1,260°C). At these intense temperatures:
-
The clay body vitrifies (melts slightly and fuses to become dense and non-porous).
-
The raw glaze powder melts into a glossy or matte glass coating fused directly to the surface.
The Unveiling
After cooling for up to 24 hours, the kiln doors open to reveal finished ceramics—durable, waterproof, food-safe, and ready for daily use.
Experience the Transformation Firsthand
Understanding the process makes holding a handmade piece so much more special. Ready to see raw clay turn into your very own ceramic creation?
Start your ceramic journey with us today!